
Introduction
Cast aluminum is a strong and durable material used in a variety of applications, from automotive parts to furniture and home decor. Over time, however, cast aluminum can become damaged or worn down, leading to cracks, pits, and other imperfections that need to be repaired. Fortunately, with the right tools and supplies, repairing cast aluminum is relatively straightforward. In this article, we’ll explore the steps involved in repairing cast aluminum, from assessing the extent of damage to applying a finishing coat.

Examining the Damage: Assessing the Extent of Cast Aluminum Repair Needed
The first step in repairing cast aluminum is to assess the extent of damage. This includes identifying the type and size of damage, as well as determining the tools and supplies needed to complete the repair. For example, if the damage is minor, such as a few small cracks or pits, a basic repair kit may suffice. On the other hand, if the damage is severe, such as major cracks or deep pits, more specialized tools and supplies may be necessary. It’s important to accurately assess the extent of damage before beginning the repair process.
Choosing Appropriate Repair Materials: Identifying the Right Adhesives, Fillers, and Finishes
Once you’ve assessed the extent of damage, it’s time to choose the right repair materials. This includes selecting an appropriate adhesive, filler, and finish. When choosing an adhesive, look for one that is specifically designed for use on cast aluminum. As for fillers, epoxy putty is often recommended for cast aluminum repairs. Lastly, when selecting a finish, consider whether you want to paint or coat the repaired area. Keep in mind that different finishes will require different types of preparation.

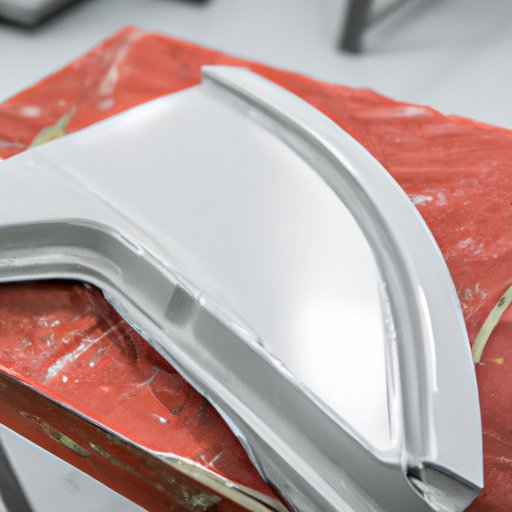
Preparing the Surface: Cleaning and Prepping for Repair
Before beginning the repair process, it’s important to clean and prepare the surface. This includes washing the surface with soap and water, removing dirt and debris, and sanding the surface with a fine-grit sandpaper. Once the surface is prepped, it’s time to apply the filler.
Applying Filler: Filling in Cracks and Pits
When applying filler, use a putty knife or other suitable tool to spread the filler into the cracks and pits. The goal is to fill the area completely and create a smooth, even surface. Once the filler has been applied, allow it to dry according to the manufacturer’s instructions.
Sanding and Polishing: Smooth Out the Surface
Once the filler has dried, it’s time to sand and polish the surface. Use a medium-grit sandpaper to sand down the filled area, then switch to a finer-grit sandpaper for a smoother finish. Once the area is sanded, use a polishing compound to give the surface a glossy shine.

Finishing Touches: Adding Paint or Finishing Coats
The final step in the repair process is to apply a finishing coat. Depending on your preference, this can be either paint or a clear coating. When choosing a paint or coating, make sure it’s specifically designed for use on cast aluminum. Once you’ve selected the right product, apply it according to the manufacturer’s instructions. Allow the paint or coating to cure before using the repaired item.
Conclusion
Repairing cast aluminum is a relatively straightforward process, but it requires patience and attention to detail. By following these steps—assessing the extent of damage, choosing the right materials, preparing the surface, applying filler, sanding and polishing, and adding a finishing coat—you can successfully repair cast aluminum and restore its original beauty. With the right tools and supplies, anyone can tackle a cast aluminum repair project.