
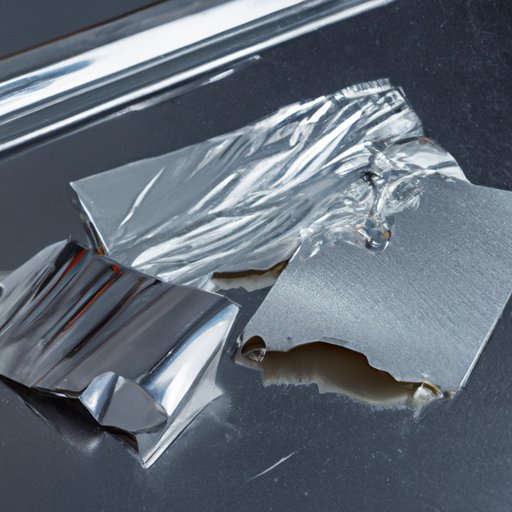
Introduction
Aluminum repair is the process of repairing or restoring an aluminum surface that has been damaged due to wear and tear, corrosion, or other factors. It is important to know how to repair aluminum because it is one of the most common metals used in construction and manufacturing, and it is often found on boats, cars, and other vehicles. Knowing how to repair aluminum can save time and money, as well as ensure the safety of those using the aluminum.
Research the Basics of Aluminum Repair
Before attempting to repair aluminum, it is important to understand the basics of aluminum repair. Start by researching the different types of aluminum, such as pure aluminum, alloy aluminum, and aluminum-coated steel. Each type of aluminum requires a different approach when it comes to repair. It is also important to learn about the various methods of aluminum repair, such as welding, riveting, and brazing.

Identify the Tools and Materials Needed for Aluminum Repair
Once you have researched the basics of aluminum repair, the next step is to identify the tools and materials needed for the job. For example, if you are welding aluminum, you will need a MIG welder, a welding mask, and welding rods. If you are riveting aluminum, you will need a rivet gun, rivets, and a drill. You may also need additional supplies, such as sandpaper, files, and a polishing cloth.

Gather the Necessary Tools and Materials
Once you have identified the tools and materials needed for aluminum repair, it’s time to gather them. Many hardware stores carry the items you need, but you can also find them online or at specialty shops. When shopping for tools and materials, make sure to choose the best quality products for the job. This will ensure that the repair job is done correctly and safely.
Clean the Area to be Repaired
Before beginning the repair process, it is important to clean the area where the repair will take place. Start by removing any debris, dirt, or rust from the surface of the aluminum. Use a wire brush or steel wool to scrape away any corrosion. Once the surface is free of debris, use a commercial cleaner to remove any grease or oil. Finally, rinse the area with water and dry it thoroughly before proceeding.

Prepare the Aluminum for Repair
After the area has been cleaned, it is time to prepare the aluminum for repair. First, use sandpaper or a file to roughen up the surface of the aluminum. This will help the repair material adhere to the aluminum. Next, use a polishing cloth to buff the surface of the aluminum. This will create a smooth, even surface for the repair material to bond to.
Perform the Aluminum Repair
Now it is time to perform the aluminum repair. Depending on the method of repair you are using, follow the instructions carefully. If you are welding aluminum, make sure to keep your face shielded from the sparks and heat. If you are riveting aluminum, make sure to wear protective gloves and goggles. Finally, if you are using adhesive to repair the aluminum, be sure to apply it evenly and allow the proper amount of time for it to cure.
Conclusion
Aluminum repair is an important skill to have, as aluminum is one of the most commonly used metals in construction and manufacturing. By following the steps outlined in this article, you can learn how to repair aluminum safely and effectively. Be sure to research the basics of aluminum repair, identify the tools and materials needed for the job, gather the necessary supplies, clean the area, prepare the aluminum, and then perform the repair. With the right knowledge and tools, you can successfully repair aluminum surfaces.
For more information on aluminum repair, check out these additional resources: Metal Repair, Welding Tips and Tricks, and YouTube Video.