
Introduction
Removing an aluminum window is a relatively easy process that can be done in a few hours or less. This article will provide a step-by-step guide on how to remove an aluminum window safely and effectively. By following these instructions, you can avoid any potential damage to the window frame or surrounding walls.
Measure the Window Frame
The first step in removing an aluminum window is to measure the window frame. You will need to know the exact dimensions of the window in order to purchase the correct replacement window. Use a tape measure to accurately measure the width and height of the window frame. It is also important to measure the depth of the window frame so that you can purchase the right size window.
You will also need to gather the necessary tools and materials for the job. These include a putty knife, a pry bar, a screwdriver, a pair of pliers, and a pair of safety glasses.
Remove the Caulking and Putty
Once you have gathered the necessary supplies, you can begin to remove the caulking and putty from around the window frame. Using a putty knife, carefully scrape off the old caulking and putty from around the edges of the window frame. Be sure to wear safety glasses during this process as there may be pieces of debris that could fly into your eyes.
Be sure to exercise caution when using a putty knife. Make sure to use light pressure so as not to scratch or damage the window frame.
Remove the Interior Trim
Next, you will need to remove the interior trim of the window. Using a pry bar, carefully pry off the trim from around the window frame. Take care to avoid damaging the trim as it can be reused if desired. Pay particular attention to the corners of the window frame, as they may require more force to remove the trim.
When using a pry bar, it is important to wear safety glasses to protect your eyes from any flying debris. Additionally, it is important to use caution when prying off the trim, as too much force can cause damage to the window frame.
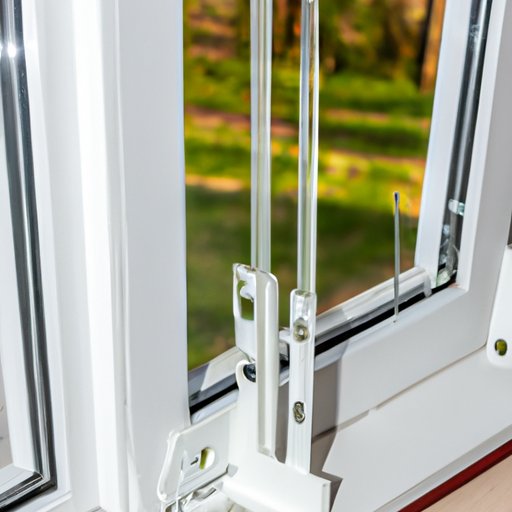
Unscrew the Window Frame
Once the interior trim has been removed, you can now unscrew the window frame. Identify the screws that are holding the window frame in place and use a screwdriver to unscrew them. If the screws are difficult to remove, you may need to use a pair of pliers to loosen them.
Be sure to exercise caution when unscrewing the screws as too much force can cause damage to the window frame. Additionally, be careful not to drop any of the screws as they may be difficult to find once they are dropped.

Carefully Lift the Window Out
Once the screws have been removed, you can now carefully lift the window out of the frame. Make sure to have at least two people to help you lift the window as it can be quite heavy. Before lifting the window, make sure to prepare the area by clearing any debris or furniture that may be in the way. Additionally, make sure to wear gloves to protect your hands from any sharp edges.
When lifting the window, make sure to exercise caution. If the window is dropped, it can cause significant damage to the window frame and surrounding walls.
Conclusion
Removing an aluminum window is a relatively simple process that can be completed in a few hours or less. The key to success is to follow the instructions carefully and take all necessary safety precautions. By following the steps outlined in this article, you can successfully and safely remove an aluminum window without causing any damage.
In summary, the steps to remove an aluminum window include measuring the window frame, removing the caulking and putty, removing the interior trim, unscrewing the window frame, and carefully lifting the window out. By following these instructions, you can ensure that the window is removed safely and effectively.