
Introduction
Replacing aluminum windows is a relatively straightforward process that involves removing the old window, measuring and cutting the new frame to size, installing it in the opening, and then securing it in place with fasteners. The entire process can take several hours, depending on the type of window and how many you plan to replace. Fortunately, the end result will be well worth the effort as you enjoy improved insulation, better soundproofing, and a more attractive home exterior.
Assemble the Right Tools
Before you start replacing your aluminum windows, it’s important to make sure you have all the right tools. You’ll need a tape measure, a level, a utility knife, a hammer, a saw, caulking, nails or screws, weather stripping, and a drill. Depending on the size and type of window, you may also need a miter saw or jigsaw.
If you don’t already own these tools, you can find them at most hardware stores. It’s also a good idea to ask the store staff for advice on which tools are best suited for the job. They may even be able to provide tips on how to use them properly.
Measure the Window Opening
The next step is to measure the opening for the new window. You’ll need to determine the width, height, and depth of the opening in order to ensure that the new window fits snugly. Take your measurements at least three times to make sure they’re accurate.
It’s also a good idea to measure the existing window frame as well. This will help you determine the exact size of the new frame you’ll need to purchase.
Cut the Aluminum Frame to Size
Once you have the measurements, you’ll need to cut the aluminum frame to size. For this step, you’ll need a miter saw or jigsaw. Measure and mark the frame carefully before making the cuts. Make sure to wear safety goggles and gloves when using power tools.
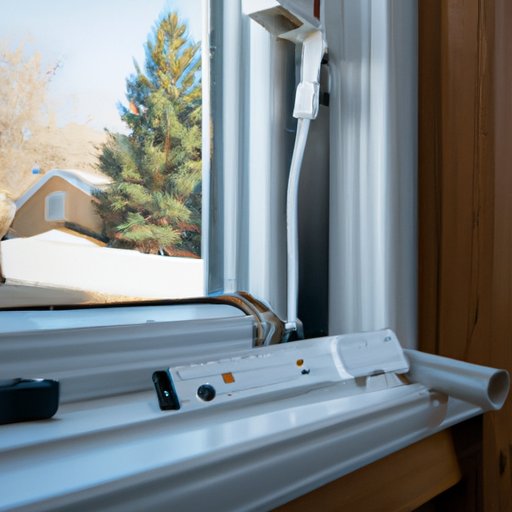
Install the New Window
Now it’s time to install the new window. Start by preparing the opening by removing any old caulk or debris. Then, set the window in place and secure it with fasteners. Make sure the window is level and plumb before you tighten the fasteners.
Secure the Aluminum Frame
Once the window is installed, you’ll need to secure the aluminum frame. Position the frame around the window and use nails or screws to attach it to the wall. Make sure to seal any gaps between the frame and the wall with caulk.

Caulk and Seal the Window
To ensure a tight seal, you’ll need to apply caulk around the edges of the window. Use a caulking gun to fill in any gaps or cracks between the window and the frame. Allow the caulk to dry completely before moving on to the next step.
Finish with Weather Stripping
Finally, you’ll need to apply weather stripping around the edges of the window. This will help prevent drafts and improve insulation. Choose weather stripping that is designed for aluminum frames and use a hammer or staple gun to attach it to the frame.
Conclusion
Replacing aluminum windows is a great way to improve the look and feel of your home. To ensure a successful installation, it’s important to have the right tools, measure the window opening accurately, and finish the job by caulking and sealing the window. With a little bit of patience and attention to detail, you’ll be able to enjoy the benefits of your new windows for years to come.