
Introduction
When a window pane breaks, it can be both a nuisance and a safety hazard. Replacing a broken aluminum window pane is a relatively easy task that can be done with minimal tools and supplies. This article will provide step-by-step instructions on how to replace a broken aluminum window pane.
Gather Supplies
Replacing a broken aluminum window pane requires few supplies. The most important supplies you need are a sheet of aluminum, a putty knife, glazing compound, a caulking gun, and a screwdriver.
Remove Broken Glass Pieces
The first step in replacing a broken aluminum window pane is to remove any broken glass pieces. Be sure to wear gloves when handling glass, as it can be dangerous. Use a vacuum cleaner to get rid of any small pieces of glass.
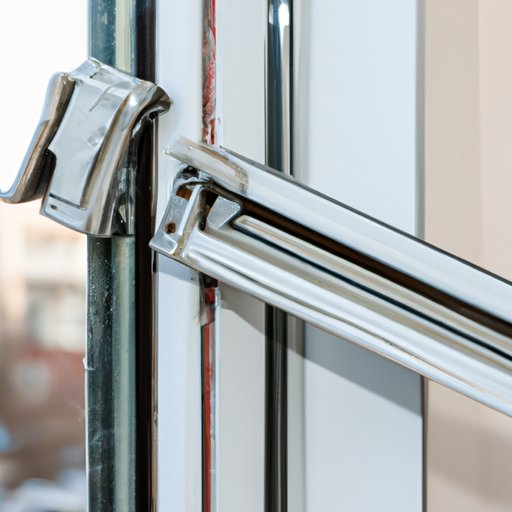
Measure Frame Opening
Once all the broken glass pieces have been removed, it’s time to measure the frame opening. Measure the width and length of the opening to determine the size of the new pane. Once you know the size of the new pane, cut the aluminum sheet to fit the opening.
Insert New Pane
Now that the aluminum sheet has been cut to size, it’s time to insert the new pane. Apply a layer of glazing compound to the frame opening and press the pane firmly into the compound.
Secure Pane
Once the new pane is inserted, use screws and caulk to secure it in place. Make sure the screws are tightened securely and the caulk is applied evenly.
Clean Up Excess Materials
After the new pane is secured, clean up any excess materials. You should now have a fully functioning window pane.
Conclusion
Replacing a broken aluminum window pane is a fairly simple task that requires few tools and supplies. All that is needed is a sheet of aluminum, a putty knife, glazing compound, a caulking gun, and a screwdriver. After following the steps outlined in this article, you should have a fully functioning window pane.