
Introduction
An aluminum boat is a popular choice for recreational boating due to its lightweight design and durability. However, without proper care and maintenance, aluminum boats can suffer from corrosion and oxidation over time. Painting an aluminum boat is an effective way to protect it from these elements and improve its overall aesthetics. In this article, we’ll provide a step-by-step guide to painting an aluminum boat, as well as tips on choosing the right paint and materials.
Step-by-Step Guide to Painting an Aluminum Boat
Painting an aluminum boat is a relatively simple process that can be completed in a few steps. Here’s a step-by-step guide to painting your aluminum boat:
1. Preparing the Surface
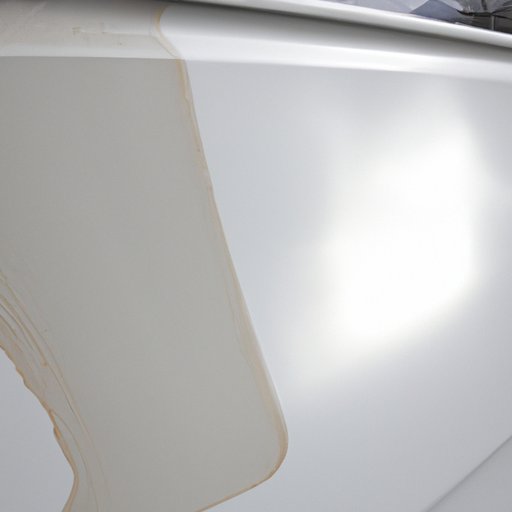
Before you can begin painting, you’ll need to prepare the surface of the boat. Start by cleaning the boat thoroughly with soap and water. Then, use a sander or sandpaper to remove any existing rust or oxidation. Finally, use a degreaser to remove any oil or other residue.
2. Choosing the Right Paint
Once the surface is prepared, you’ll need to choose the right paint for your aluminum boat. There are several types of paint available, including epoxy, polyurethane, and enamel. Consider the location of the boat, the type of environment it will be exposed to, and the desired finish before making a selection.
3. Applying the Paint
Once you’ve chosen the right paint, you can begin applying it to the boat. Start by applying a primer coat, then apply two coats of the chosen paint. Allow each coat to dry completely before adding the next. Finally, apply a clear coat for added protection.
Tips for Preparing Your Aluminum Boat Before Painting
Before you start painting, there are a few steps you should take to ensure that the paint adheres properly and lasts for years to come. Here are some tips for preparing your aluminum boat before painting:
1. Cleaning and Sanding
Start by cleaning the boat thoroughly with soap and water. Then, use a sander or sandpaper to remove any existing rust or oxidation. This will help the paint adhere better and last longer.
2. Priming
Once the boat is clean and sanded, you’ll need to apply a primer coat. This will help the paint adhere better and provide an extra layer of protection against corrosion and oxidation.
3. Masking
Before you start painting, you should also mask off any areas that you don’t want to paint. This includes windows, hardware, and other fixtures. This will help to ensure a neat, professional finish.

Choosing the Right Paint for an Aluminum Boat
When choosing paint for your aluminum boat, there are a few factors to consider. Here are some tips for choosing the right paint:
1. Types of Paint
There are several types of paint available, including epoxy, polyurethane, and enamel. Each type has its own advantages and disadvantages, so it’s important to consider your needs and the environment the boat will be exposed to before making a selection.
2. Considerations
In addition to the type of paint, you should also consider the color, gloss level, and UV protection. Choose a color that complements the boat and its surroundings, and a gloss level that suits your preferences. Also, make sure to choose a paint with UV protection to help prevent fading and chalking.

DIY Tutorial: How to Paint an Aluminum Boat
Now that you know what to look for when choosing paint, let’s take a look at the process of painting an aluminum boat. Here’s a step-by-step tutorial on how to paint an aluminum boat:
1. Gather Materials
Before you begin, you’ll need to gather all of the necessary materials. This includes soap and water, a sander or sandpaper, a degreaser, primer, paint, a clear coat, and masking tape.
2. Prepare the Boat
Start by cleaning the boat thoroughly with soap and water. Then, use a sander or sandpaper to remove any existing rust or oxidation. Finally, use a degreaser to remove any oil or other residue.
3. Apply the Primer
Once the boat is prepared, you’ll need to apply a primer coat. This will help the paint adhere better and provide an extra layer of protection against corrosion and oxidation.
4. Paint the Boat
Once the primer is dry, you can begin painting the boat. Start by applying two coats of the chosen paint. Allow each coat to dry completely before adding the next.
5. Apply a Clear Coat
Finally, apply a clear coat for added protection. This will help to keep the paint looking fresh and protect it from the elements.

The Benefits of Painting an Aluminum Boat
Painting an aluminum boat offers many benefits, including:
1. Protection from Corrosion and Oxidation
Applying a coat of paint to your aluminum boat can help to protect it from corrosion and oxidation caused by water, salt, and other elements.
2. Improved Aesthetics
Painting your aluminum boat can also help to improve its overall look and feel. You can choose a color that complements the boat and its surroundings for a more attractive appearance.
3. Increased Resale Value
Painting your aluminum boat can also help to increase its resale value. A boat that is well maintained and looks good will fetch a higher price than one that is neglected and has visible signs of wear and tear.
Conclusion
Painting an aluminum boat is a great way to improve its aesthetics and protect it from corrosion and oxidation. With the right materials and a few simple steps, you can easily paint your aluminum boat and enjoy the benefits for years to come.