
Introduction
Aluminum siding is a popular choice for many homeowners due to its durability and low maintenance requirements. However, over time, it can become damaged or worn, requiring repair or replacement. In this article, we’ll explore the different steps involved in fixing aluminum siding, from cleaning to refinishing.
Cleaning and Repairing Damaged Aluminum Siding
Before you begin any repairs, it’s important to thoroughly clean the siding. Use a gentle detergent and warm water to remove dirt, debris, and other contaminants that may be present. Once the siding is clean, you can identify any damage that needs to be repaired. Common types of damage include dents, scratches, and other minor damages.
To fix dents and scratches, you may need to use a putty knife, sandpaper, and filler. Start by using the putty knife to scrape away any loose material. Next, use fine-grit sandpaper to smooth out the surface. Finally, apply the filler and allow it to dry completely before painting or staining the area.
For more serious damage, such as holes or cracks, you may need to replace the affected piece of siding. Carefully measure the area and purchase a new piece of siding that matches the existing one. You can then remove the old piece and install the new one in its place.
Replacing Missing or Broken Seams
If the seams between pieces of siding are missing or broken, they must be replaced. Begin by measuring the area and purchasing replacement seams that match the existing ones. Then, carefully remove the old seams and discard them. Once the area is clear, you can install the new seams.
To do this, start by applying an adhesive to the back of the seam. Then, press the seam into place and use a rubber mallet to gently tap it down. Allow the adhesive to dry completely before moving on to the next step.

Applying a Protective Coating to Prevent Future Damage
It’s important to apply a protective coating to your aluminum siding to help prevent future damage. Start by selecting a coating that is specifically designed for aluminum siding. Then, prepare the surface by cleaning it thoroughly and removing any debris or contaminants. Finally, apply the coating according to the manufacturer’s instructions.

Patching Holes or Cracks in the Siding
If there are any holes or cracks in the siding, they must be patched in order to prevent further damage. Start by selecting a patch material that is compatible with your siding. Then, prep the area by cleaning it and removing any debris. Finally, apply the patch according to the manufacturer’s instructions.
Inspecting for Leaks or Moisture Damage
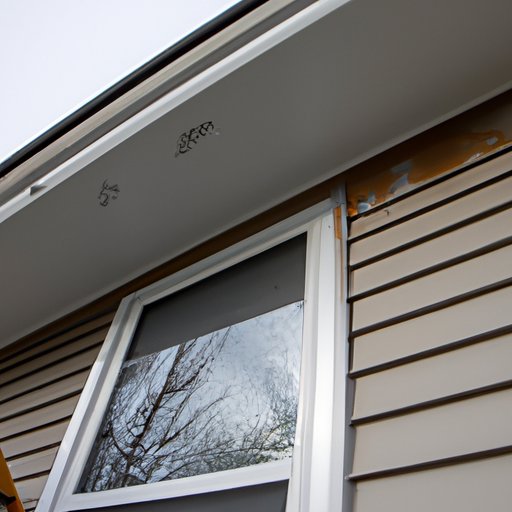
It’s also important to inspect the siding for any signs of leaks or moisture damage. Common signs of moisture damage include discoloration, bubbling, and warping. If you notice any of these signs, you should check for leaks and make any necessary repairs.

Painting or Refinishing the Aluminum Siding
Finally, you may want to paint or refinish the siding in order to improve its appearance. Start by selecting a paint or finish that is specifically designed for aluminum siding. Then, prepare the surface by cleaning it and removing any debris or contaminants. Finally, apply the finish according to the manufacturer’s instructions.
Conclusion
Fixing aluminum siding requires several steps, including cleaning, repairing, replacing, patching, and refinishing. By following these steps, you can ensure that your siding is in good condition and looking great. Additionally, it’s important to inspect the siding regularly for signs of leaks or moisture damage, and to apply a protective coating to help prevent future damage.