
Introduction
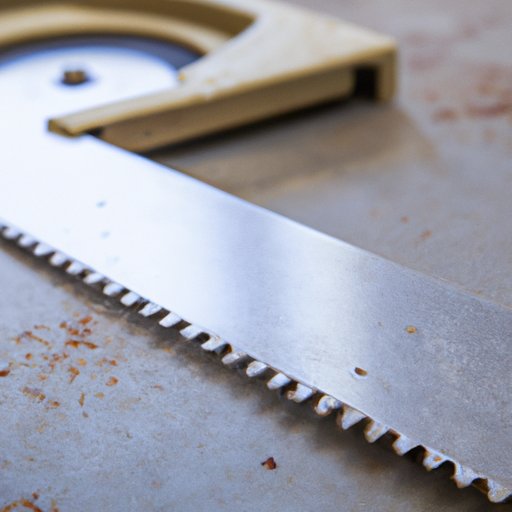
A miter saw is a power tool used for making angled cuts in wood and other materials. It can be used for a variety of projects, from making picture frames to trimming door frames. But did you know that you can also use a miter saw to cut aluminum? With the right blade and setup, it’s possible to make clean and accurate cuts in aluminum with a miter saw.
A Guide to Cutting Aluminum with a Miter Saw
If you’re looking to cut aluminum with a miter saw, the first step is selecting the right blade. You’ll want to choose a blade specifically designed for cutting metal, such as a carbide-tipped blade. This type of blade will last longer and provide a smoother cut than a traditional wood-cutting blade.
Once you’ve chosen the right blade, you’ll need to set up your miter saw for aluminum cutting. Make sure to adjust the speed of the blade to a slower setting than you would use for wood. You should also make sure the blade is securely attached to the saw and the saw table is level. You may also need to adjust the depth of the blade depending on the thickness of the aluminum you are cutting.
Finally, when you’re ready to make the cut, be sure to take your time and follow all safety precautions. Wear protective gear such as goggles and gloves, and be sure to keep your hands away from the blade. Cut slowly and steadily, allowing the blade to do the work and not forcing it. Once the cut is complete, turn off the saw and allow it to come to a complete stop before removing the aluminum.

How to Make Clean Cuts in Aluminum with a Miter Saw
Making clean cuts in aluminum with a miter saw takes practice, but there are a few tips and techniques you can use to get the best results. First, be sure to measure and mark your workpiece accurately. This will help ensure that the cuts you make are straight and even. Additionally, you should always use a clamp or other support device to hold the aluminum steady while you’re cutting. This will help prevent the aluminum from moving or shifting during the cut.
You should also pay attention to the speed at which you’re cutting. If you cut too quickly, you’ll end up with ragged edges and an uneven cut. Try to maintain a consistent speed throughout the cut, and don’t be afraid to go slow. Finally, be sure to use a lubricant, such as WD-40, when cutting aluminum. This will help reduce friction and heat buildup, resulting in a cleaner cut.
Conclusion
With the right blade and setup, it’s possible to make clean and accurate cuts in aluminum with a miter saw. Just remember to take your time and follow all safety precautions. Measure and mark your workpiece accurately, use a clamp or support device to keep the aluminum steady, and use a lubricant to reduce friction and heat buildup. With these tips and techniques, you should be able to make clean cuts in aluminum with a miter saw.
When working with any power tool, safety should always be your top priority. Be sure to wear proper safety gear such as goggles, gloves, and a dust mask. Also, never force the saw; let the blade do the work. Following these simple safety tips will help ensure that you have a safe and successful experience when working with a miter saw.