
Introduction
Anodizing aluminum is a process that involves applying a protective oxide coating to aluminum parts or components in order to extend their lifespan and improve their performance. The process of anodizing aluminum creates a durable finish that is resistant to corrosion and abrasion, and can also be used to enhance the aesthetic appearance of the product. In this article, we will explore how to anodize aluminum in detail, including a step-by-step guide to the process, an overview of the basics of anodizing, tips and techniques for anodizing aluminum, and advice on DIY anodizing aluminum.
Step-by-Step Guide to Anodizing Aluminum
The process of anodizing aluminum involves a few simple steps. Here is a detailed guide to the process:
Preparing the Aluminum
The first step in anodizing aluminum is to prepare the aluminum by cleaning it thoroughly. This is done to remove any dirt, grease, or other contaminants that may affect the anodizing process. Next, the aluminum is etched in an acid solution to create a uniform surface. This will ensure that the anodizing process is applied evenly across the entire surface of the aluminum.
Setting up the Anodizing Tank
Next, the anodizing tank must be set up. This involves filling the tank with an electrolyte bath, which is usually a mixture of sulfuric acid and water. The anodizing voltage is then set, which will determine the thickness of the oxide layer that is created during the anodizing process.
Applying the Anodizing Current
Once the anodizing tank is set up, the anodizing current is applied to the aluminum parts. This is done by immersing the aluminum parts into the electrolyte bath and connecting them to the anodizing voltage source. The anodizing current will react with the aluminum, creating an oxide layer on the surface.
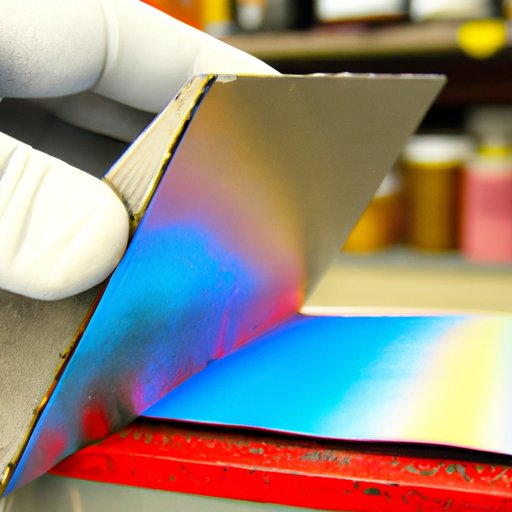
Removing and Inspecting the Anodized Aluminum
Once the anodizing process is complete, the aluminum parts are removed from the anodizing tank and inspected for defects. If any defects are found, they can be corrected before the aluminum is sealed and coated with a protective finish.
Exploring the Basics of Anodizing Aluminum
Before diving into the details of anodizing aluminum, it’s important to understand some of the basics of the process. Here is a brief overview of what anodizing is and the different types of anodizing, as well as the advantages and disadvantages of anodizing.
What is Anodizing?
Anodizing is a process that involves applying an oxide layer to the surface of aluminum parts or components. This oxide layer acts as a protective barrier against corrosion, abrasion, and other environmental factors. It also enhances the aesthetic appearance of the product, making it more attractive.
Different Types of Anodizing
There are several different types of anodizing that can be used for aluminum. These include chromic acid anodizing (CAA), sulfuric acid anodizing (SAA), and hardcoat anodizing. Each type of anodizing has its own advantages and disadvantages, so it is important to choose the right type for your application.
Advantages and Disadvantages of Anodizing
Anodizing offers several advantages, such as increased durability, improved corrosion resistance, and enhanced aesthetics. However, there are also some drawbacks to anodizing, such as the cost of the process and the need for specialized equipment. It is important to weigh the pros and cons of anodizing when deciding whether or not it is the right option for your application.

An Overview of the Anodizing Process for Aluminum
Now that we have explored the basics of anodizing aluminum, let’s take a look at the actual process of anodizing. Here is an overview of the anodizing process for aluminum, including the anodizing reaction, the electrolyte bath, and safety considerations.
The Anodizing Reaction
The anodizing reaction occurs when the aluminum parts are connected to an anodizing voltage source and immersed in an electrolyte bath. This causes the aluminum to react with the electrolyte, forming an oxide layer on the surface of the aluminum. The thickness of the oxide layer depends on the anodizing voltage used.
The Electrolyte Bath
The electrolyte bath is a mixture of sulfuric acid and water. This mixture helps to facilitate the anodizing reaction. Different concentrations of sulfuric acid can be used, depending on the desired outcome of the anodizing process.
Safety Considerations
When anodizing aluminum, it is important to take safety precautions. This includes wearing the proper safety gear, such as goggles and gloves, and avoiding contact with the electrolyte bath. It is also important to follow the instructions provided by the manufacturer carefully to avoid any accidents or injuries.

Tips and Techniques for Anodizing Aluminum
Once you understand the basics of anodizing aluminum, there are several tips and techniques that can help you achieve the best results. Here are some tips and techniques for anodizing aluminum that you should keep in mind:
Choosing the Right Anodizing Solution
When anodizing aluminum, it is important to choose the right anodizing solution. Different solutions can produce different results, so it is important to do your research and find the right one for your application.
Controlling the Anodizing Time and Voltage
The time and voltage of the anodizing process can have a big impact on the outcome. It is important to control the time and voltage carefully to ensure that the desired results are achieved.
Cleaning and Pre-Treating the Aluminum
Before anodizing aluminum, it is important to clean and pre-treat the aluminum parts. This ensures that the anodizing process is applied evenly and produces the desired results.

DIY Anodizing Aluminum – What You Need to Know
Anodizing aluminum can be done at home, but it is important to take the necessary safety precautions. Here is an overview of what you need to know when it comes to DIY anodizing aluminum:
Gather the Necessary Materials
Before you start anodizing aluminum at home, you need to gather all the necessary materials. This includes an anodizing tank, an electrolyte bath, safety gear, and the aluminum parts you want to anodize.
Prepare the Work Area
Before beginning the anodizing process, it is important to make sure the work area is properly prepared. This includes ensuring that the area is free from dust and debris, and setting up the anodizing tank according to the manufacturer’s instructions.
Follow the Instructions Carefully
It is important to follow the instructions provided by the manufacturer carefully when anodizing aluminum. This will help ensure that the process is done correctly and safely.
Final Inspection and Cleanup
Once the anodizing process is complete, it is important to inspect the aluminum parts for defects. If any defects are found, they can be corrected before the aluminum is sealed and coated with a protective finish. Finally, the work area should be cleaned up before the next anodizing session.
Conclusion
Anodizing aluminum is a process that involves applying a protective oxide coating to aluminum parts or components in order to extend their lifespan and improve their performance. In this article, we explored how to anodize aluminum in detail, including a step-by-step guide to the process, an overview of the basics of anodizing, tips and techniques for anodizing aluminum, and advice on DIY anodizing aluminum. By following the steps outlined in this article, you can successfully anodize aluminum at home.